|
<< Change the image when your mouse over >> 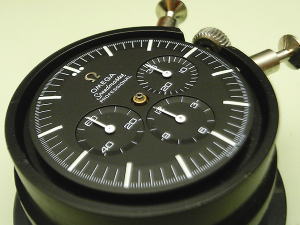
|
|
<< Change the image when your mouse over >>
|
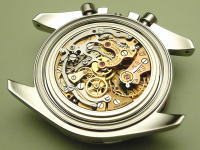
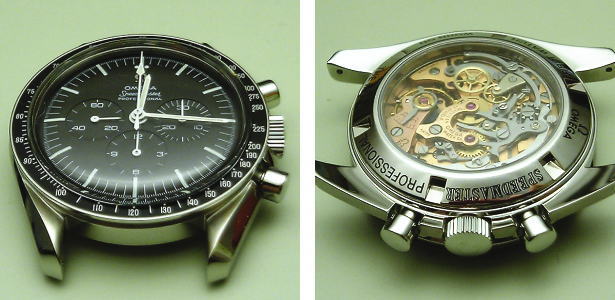
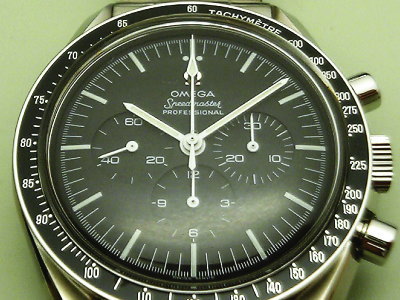
The Omega Speedmaster famed for the official equipment on all NASA space flight in 1960s. The early model were powered by the caliber 321 by Lemania, column wheel, Breguet spiral, 18,000bph.
I create the "Pre moon" original Speedmaster with the caliber
321.
I have collected the genuine Omega parts for this project.
|
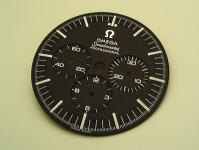
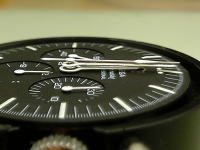
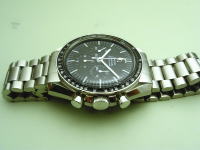
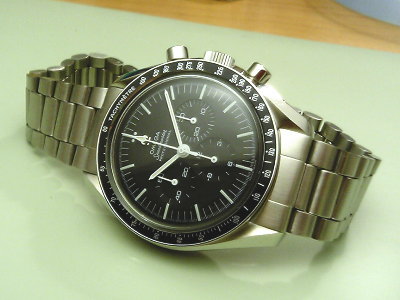
Classic dial
Long luminous index, applied Omega emblem |
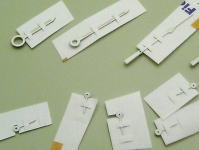
Genuine Hands
Minute, Hour, small second, minute and hour register hand |
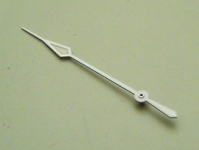
Original chronograph hand
Classic style until 4th model |
||
 |
 |
 |
|
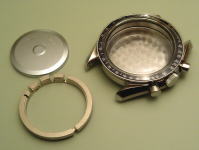
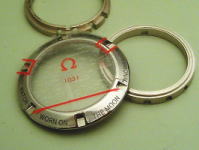
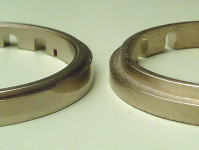
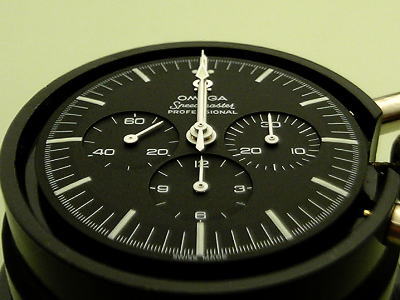
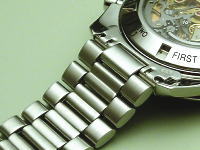
Genuine case
Ref.1450012 for cal.321, same case as 4th ref.145012 |
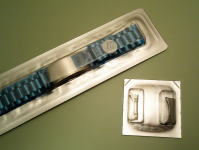
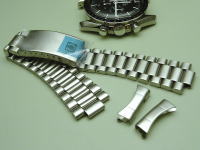
Genuine bracelet, end piece
Standard ref.1171-000, end piece ref.633 |
|
 |
 |
Originally the caliber 27 CHRO C12 was designed and developed in the 1942 by Albert Piguet at Lemania. Breguet spiral balance spring, column wheel(pillar wheel), high quarity movement.
|
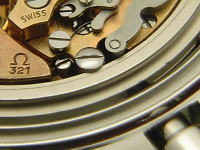
Omega caliber 321(Cal.27CHRO C12)
3 register chronograph, diameter 27.3mm, 17 jewels, 18,000bph, manual winding |
|
 |
|
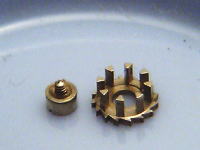
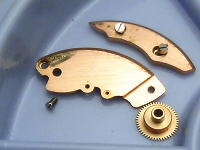
Chronograph runner
Lemania CH27 C12 parts |
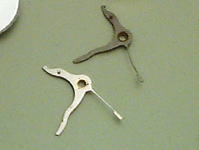
Brake lever
Lemania CH27 stock parts |
Flyback lever
Reset hummer supplied from Lemania |
||
 |
 |
 |
|
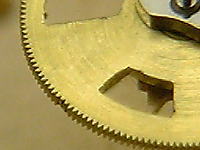
Fourth wheel
Omega genuine |
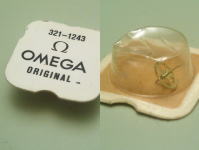
Main spring
Omega genuine |
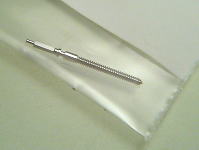
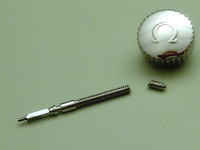
Stem
Omega stock |
||
 |
 |
 |
|
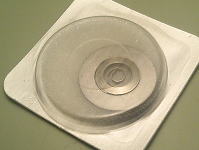
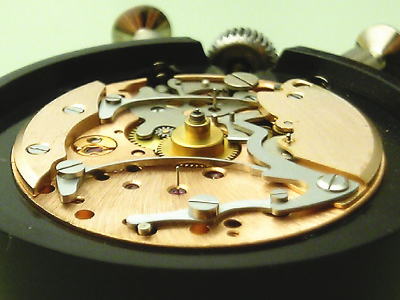
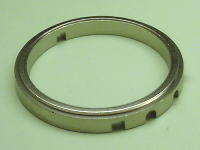
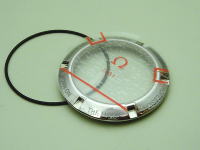
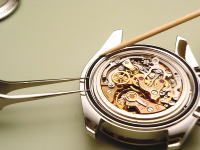
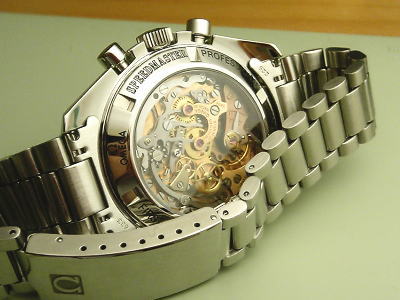
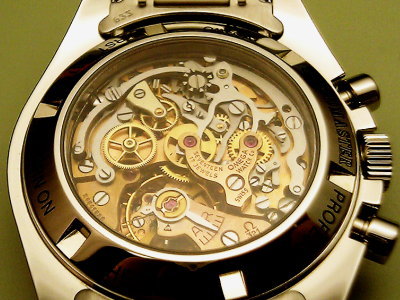
See-through back
Sapphire case back. Extra case ring need for the see-through back, the
dust cover will not be used this case ring takes up the extra space. |
||
 |
 |
|
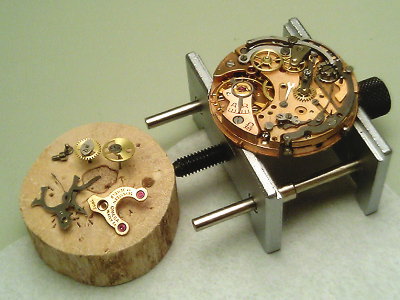
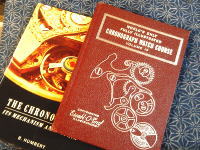
Let's enjoy the disassembling of the famous cal.321.
I refered 2 manuals, The Chronograph Its Mechanism and Repair by B Humbert and Esemble-O-Graf Chronograph Watch Course by William O. Smith Sr. and Jr.
 |
 |
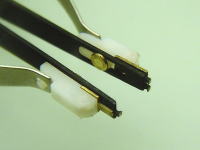 |
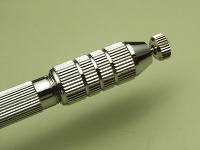
| Manuals | Esemble-O-Graf No.14 for cal.27 | Driving wheel remover |
Use care in removing the wheels not to bend or break the very thin pivot
of the pinion, which is very delicate.
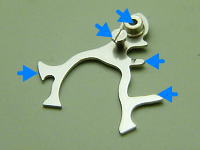
The column wheel is very small, its diameter 4mm.
 |
 |
 |
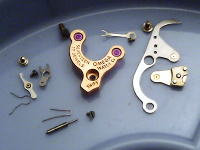
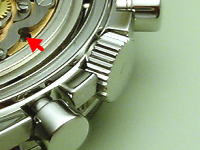
| Wheels on the | Broken chronograph wheel | Column wheel, 8 pillars |
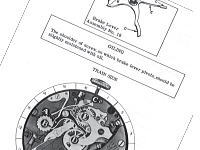
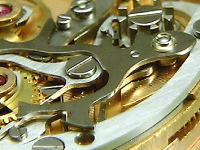
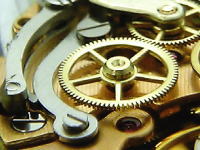
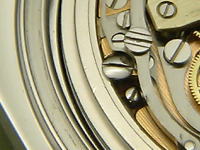
On the train side of the movement,
The unique "U" shaped bridge is beautiful.
Use care to remove many tiny springs, screws and parts, which are easily
lost.
To remove the hour brake lever, the screw should be turned counter-clockwise.
 |
 |
 |
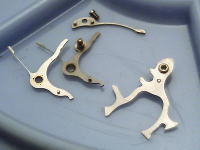
| Bridge, Coupling crutch | Flyback lever, Brake lever | Operating lever and others |
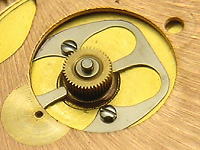
On the dial side, disassemble the hour register related wheels, springs and others.
 |
 |
 |
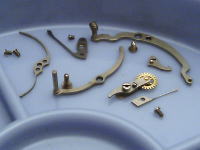
| Hour register related parts | Bridges on the dial side | Base mobement |
 |
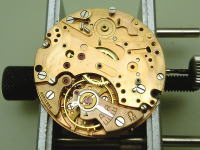
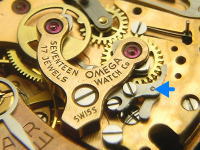
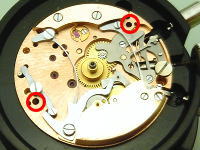
Base movement run high accurately. 30 sec/day, beat error 0.9ms. (omit the overhaul process from this page)
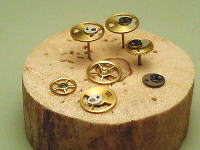
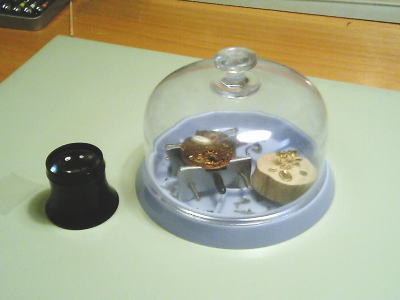
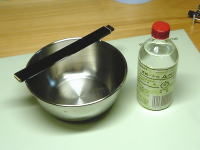
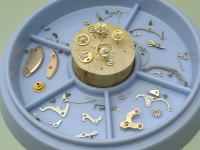
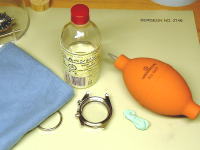
Clean all parts by benzine and a brush, Finally each part should be blown dry, I organized and stored them in the storage trays.
 |
 |
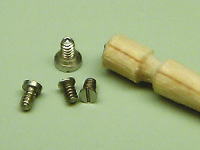 |
| Benzine and Brush | Classified parts | Tiny screws |
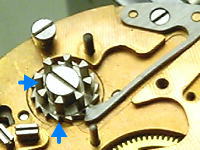
Assemble and lubricate( blue arrows on pictures) as follows. I use Moebius 9010(fine oil), 9020(average oil) and D5(thick oil) and grease.
 |
 |
 |
| Base movement on the holder | Column wheel | Trip pin for Flyback lever |
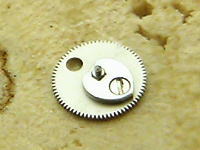
I replaced the chronograph runner ( second register wheel) because the
original wheel had been broken.
After brushing and polishing the dead stock parts supplied from Lemania,
I placed it.
 |
 |
 |
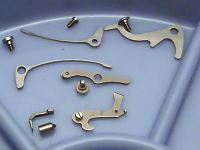
| Spare chronograph runner | Bridge, Register wheels | Operating lever, Brake lever |
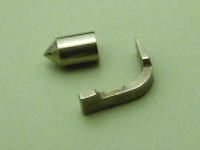
It was most difficult to place the flyback lever(reser hummer).
Use care not to rub between the parts when pressing it down in position
on post because it is highly polished.
 |
 |
 |
| Flyback lever(Reset hummer) | Overlapped parts | Coupling clutch |
Press down the driving wheel horizontally. Horotec hands press is very useful.
 |
 |
 |
| Hour brake lever | Horotec hand press | Driving wheel |
 |
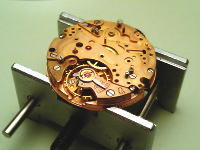
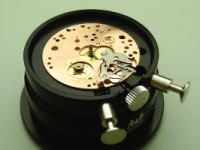
Consequently, assembling on the dial side. Hold the movement on the chronograph holder.
 |
 |
 |
| Holder for cal.861 | Hour register wheel | Reset lever |
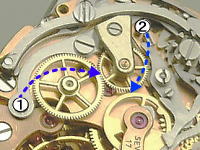
Place the tension spring with the driving pinion on the main barrel. Do not tighten these screws any more than is necessary.
 |
 |
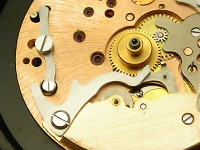 |
| Tension spring, driving pinion | Hour wheel, Flyback lever | Brake lever |
Oil the contact point between parts and springs.
 |
|
Control the slip between the tension spring and the driving pinion. Do
not tighten two adjusting screws any more than is necessary.
Disengage and engage the hour wheel brake by the adjusting eccentric screw.
 |
 |
| Control the slip and the turning | Brake |
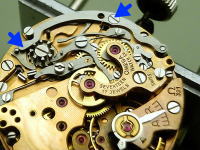
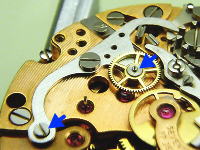
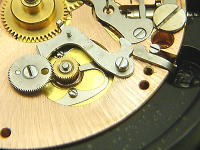
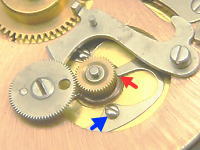
Adjust coupling wheels when the chronograph start.
 |
 |
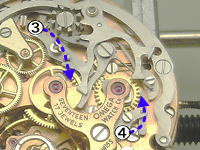 |
| Coupling depth adjustment | this will be adjusted after the minute register hand setting |
Attach the dial to the movement and lock the dial feet by the screws.
 |
 |
|
| Insert dial feet to the hole | Lock the dial |
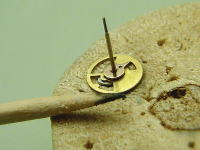
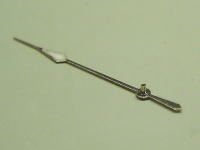
Set the register hands and the small second hand.
The chronograph hands are too tight to set on the pivot. So, place the
hand on the pivot and press down by the hammer.
 |
 |
 |
| Second hand(left), Minute register(right), Hour register(below) | HOROTEC Hand Press | 12 Hours register hand |
Attach the hour hand and the minute hand at 12 o'clock position.
 |
 |
|
| Hour and minute register hand | Hour and minute hand |
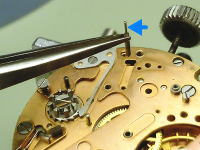
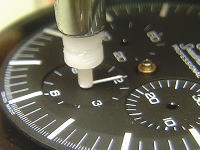
Attach the chronograph hand by the hummer.
They should be level and clear the dial. There is clearance between hour
hand and minute hand.
 |
 |
 |
| Chronograph hand | Press hand | All hands are attached |
This is most difficult to create the chronograph.
 |
| The face of Speedmaster |
 |
 |
 |
| Benzine, Blower | Movement ring | Casing |
 |
 |
 |
 |
 |
| Stem and Crown | Hold stem | Crown |
 |
 |
 |
| See-thru back, Gasket(o-ring) | Silicon | Attach gasket |
 |
||
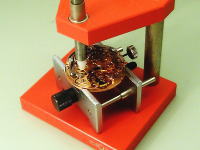
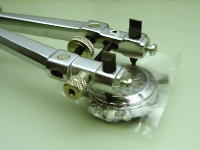
| Case opener |
 |
| Completion |
 |
 |
 |
| Stainless bracelet | Lug | Attach bracelet |
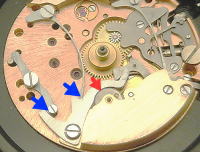
Adjust coupling wheels when the chronograph start.
|
|
|
| Coupling depth adjustment | this will be adjusted after the minute register hand setting |
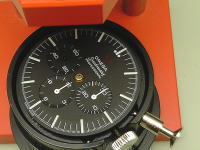
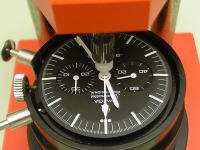
Complete.
 |
|
|
| Face side |
 |
| See-through back |
 |
| 4th style |
 |
| Omega caliber 321 |